Chicken Tenders
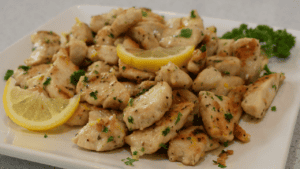
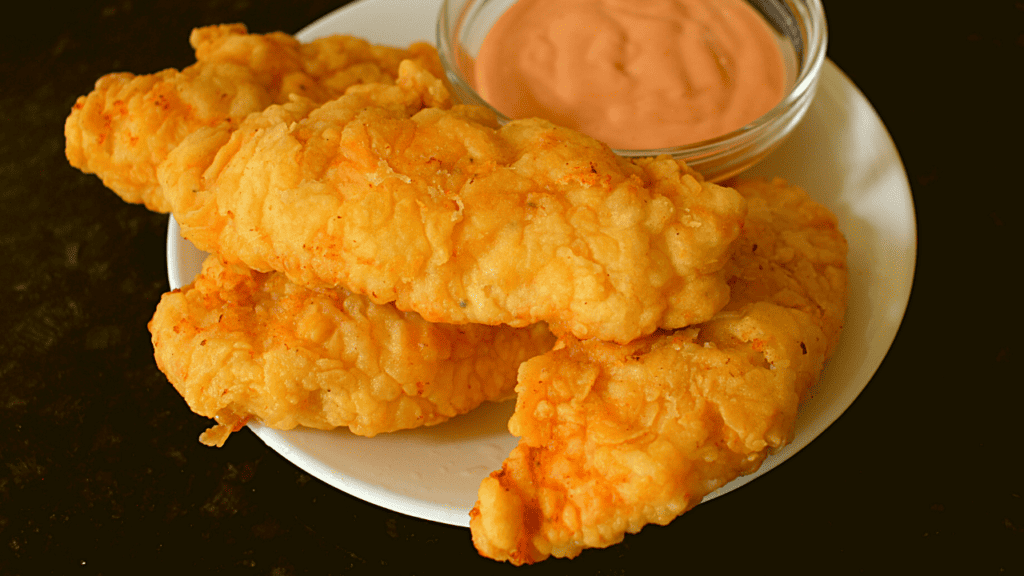
Chicken tenders, also known as chicken fingers or chicken strips, are a classic fast food dish that originated in the United States. They consist of small strips of chicken meat that are typically battered and fried.
The Secret to Perfect Homemade Chicken Tenders Every Time
Who doesn’t love a crunchy, juicy chicken tender? Whether it’s a quick snack for the kids or a comfort meal for adults, chicken tenders have universal appeal. Their crispy exterior and tender interior make them a hit at any table. But what if you could whip up these crowd-pleasers at home, with your own personal touch? In this blog post, we’ll explore how to make chicken tenders that are not only delicious but also tailored to your taste preferences.
Why Homemade Chicken Tenders?
Making chicken tenders at home gives you full control over the ingredients. You decide on the quality of the meat, the spices in the breading, and even the method of cooking. This control allows you to make healthier choices, such as using less oil or opting for whole-grain breading. Plus, homemade chicken tenders can be tailored to fit dietary needs, whether your goal is gluten-free or low-sodium options.
Cooking chicken tenders at home also enables portion control, helping you serve just the right amount at mealtime. Compared to restaurant portions, homemade tenders can be resized to suit your family’s needs, reducing food waste. Not to mention, the satisfaction of creating something delicious from scratch is a reward unto itself!
Finally, by making chicken tenders at home, you create opportunities for culinary creativity. From experimenting with spices in the marinade to trying different oils for frying, each step is a chance to make the recipe uniquely yours. And let’s not forget the bonding experience when cooking together as a family or with friends.
Health Benefits of DIY Chicken Tenders
When you make chicken tenders at home, you’re not just crafting a tasty meal; you’re also making a healthier choice. By opting for fresh, high-quality chicken, you reduce exposure to additives and preservatives often found in processed meats. Additionally, customizing your ingredients allows for healthier substitutions, such as whole-wheat flour in the breading.
Homemade chicken tenders can also be lower in calories and unhealthy fats compared to their fast-food counterparts. By controlling the amount of oil used for frying and choosing leaner cuts of meat, you’re able to cut down on unnecessary calories. For those looking to further lighten the dish, baking instead of frying offers an excellent alternative.
Lastly, crafting chicken tenders at home means ditching excess salt and sugar. Many store-bought or restaurant-prepared versions contain added sugars to enhance flavor. With your homemade version, you control the seasoning, allowing for a more balanced, health-conscious meal that doesn’t skimp on taste.
Step-by-Step Guide to Perfect Chicken Tenders
Ready to tackle homemade chicken tenders? Let’s break it down into simple steps that even novice cooks can follow. From preparation to cooking, each step contributes to the final crispy, tender result.
Start with high-quality chicken tenderloins, which are naturally tender and flavorful. If you’re unable to find tenderloins, chicken breasts are a great alternative. Just remember to slice them into strips for even cooking and easy handling.
Before breading, marinate the chicken. A simple marinade of milk, salt, black pepper, and paprika infuses the meat with flavor while keeping it juicy. Allow the chicken to soak for at least an hour; this step is crucial for both taste and texture.
Next, move on to the breading. A classic combination of flour, water, and egg creates a light yet effective coating. Dredge each piece of chicken in flour, dip it in the egg mixture, and coat it with flour again. This double-dipping ensures your tenders have that crispy exterior we all love.
Variations to Try with Your Chicken Tenders
While the classic chicken tender recipe is a favorite, variety is the spice of life! There are endless ways to tweak your tenders to fit your mood or dietary needs.
Try adding different seasonings to your marinade to bring new flavors to the table. Cayenne pepper or garlic powder can add a kick, while herbs like thyme or rosemary provide a more aromatic finish. For an Asian twist, consider adding soy sauce and ginger to the mix.
When it comes to breading, consider swapping out white flour for alternatives like almond flour or whole-wheat flour to boost nutritional content. Adding crushed cornflakes or panko breadcrumbs can also add extra crunch and a unique texture.
Experiment with frying oils to see which you prefer. Traditional vegetable oil works great, but olive oil or coconut oil can introduce new flavors and health benefits to your tenders. Each oil type comes with its own smoke point and flavor profile, allowing you to customize your cooking experience.
Serving and Storing Your Chicken Tenders
Now that your chicken tenders are cooked and golden, it’s time to think about serving and storing them. Tenders can be enjoyed hot from the pan or cooled down for snacking later.
Pair your tenders with a variety of sauces for dipping. Classic choices include honey mustard, barbecue sauce, and ranch dressing, but feel free to get creative. Consider a spicy sriracha mayo or a tangy lemon aioli for a twist.
For a complete meal, serve your chicken tenders alongside some delicious sides. A crisp salad, creamy mashed potatoes, or roasted veggies are all excellent choices that complement the dish. And don’t forget the classic French fries for an all-American comfort meal.
When it comes to storing leftovers, place cooled tenders in an airtight container in the refrigerator for up to three days. For longer storage, freeze them in a single layer on a baking sheet, then transfer to a freezer bag. Reheat in the oven to maintain their crispiness.
Conclusion and Sharing the Love
Making homemade chicken tenders is a satisfying culinary experience that offers delicious rewards. From the joy of crafting your own flavors to the health benefits of fresh, controlled ingredients, the advantages are clear. Plus, sharing a meal with loved ones enhances the experience even more.
We encourage you to take these insights and create your own chicken tender masterpiece. Don’t be afraid to experiment with flavors and textures until you find what suits your taste best. And remember, the kitchen is a place for creativity, so enjoy the process!
Join the Chicken Tender Community
We’d love to see what you come up with! Share your chicken tender creations on social media, and be sure to use the hashtag #MyTastyTenders. Connect with fellow foodies and inspire others to join in the fun of cooking at home.
Frequently Asked Questions
How are chicken tenders made?
Chicken tenders are made by marinating strips of chicken, usually tenderloins, and then coating them in a mixture of flour, egg, and sometimes additional seasonings. They’re then fried or baked until golden brown.
What is the secret to cooking tender chicken?
The key to tender chicken lies in marinating the meat beforehand, which helps to break down proteins and enhance flavor. Also, cooking at the right temperature ensures the chicken remains juicy.
What is the breading on chicken tenders made of?
Breading typically consists of flour, eggs, and sometimes additional ingredients like breadcrumbs or crushed cereals. This mixture creates a crispy outer layer once cooked.
How do you get breading to stick to chicken tenders?
Ensure that the chicken is well-coated with flour before dipping it in the egg mixture. The flour helps the egg adhere, and a second coating of flour or breadcrumbs ensures the breading stays intact.
Are chicken tenders just chicken breasts?
No, chicken tenders are typically made from the tenderloin, a smaller strip of meat located under the chicken breast. However, chicken breasts can also be sliced into strips and used to make tenders.
More Delicious Recipes You’ll Love
- Creamy Tuscan Salmon Recipe – A mouth-watering Italian dish that combines the richness of cream sauce with the delicate flavor of salmon. The dish originated in Tuscany, a region known for its exquisite cuisine and culinary traditions.
- Walnut Shrimp – Popular Chinese-American dish that consists of large, juicy shrimp coated in a sweet and creamy sauce, topped with crunchy walnuts.
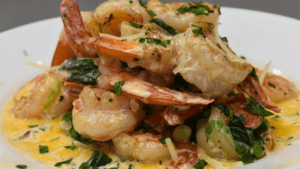
- Garlic Butter Shrimp – Delicious and flavorful seafood dish that can be made with ease at home. The recipe combines succulent shrimps, butter, garlic, and various herbs and spices to make a delightful meal.
- Baked Salmon – Delicious and healthy dish that combines the delicate flavors of fresh salmon with the rich and aromatic seasonings of various herbs and spices.
- Omelette – An omelette is made by beating eggs and cooking them in a pan until set. You can add fillings like vegetables, cheese, meat, or herbs before folding it over to serve. There are various styles, including French, Spanish, and American.

Chicken Tenders
Ingredients
FOR THE MARINADE
- 1½ lbs chicken tenderloins
- 1 tsp salt
- 1 tsp black pepper
- 1 tsp paprika
- ½ cup milk
FOR THE BREADING
- 1 cup all purpose flour
- ½ cup water
- 1 large egg
FOR COOKING
- 3 cups vegetable oil
Instructions
MARINATE THE CHICKEN
- Place the cut chicken tenders in a large bowl.
- Season with salt, black pepper, and paprika. Add milk then mix together.
- Let it sit for an hour so that it marinates properly (this will give the chicken its signature flavor).
MAKE THE BREADING
- In a separate small bowl, crack the egg and add water then stir with a fork until they are mixed together.
- Dredge the chicken tender into flour, coating evenly on all sides.
- Next, dip into the egg and water mixture and coat with flour again.
FRY THE CHICKEN
- Heat up enough vegetable oil in a large saucepan until 350 degrees Fahrenheit.
- Once heated, add chicken tenders one at a time. Ensure not to overcrowd the pan. Move pieces around occasionally during cooking so that they fry evenly on both sides, about 5 minutes each side until golden brown color appears.
- Remove chicken tenders onto plate lined with kitchen towel papers to absorb any extra grease. Let it cool for 15 minutes before serving enjoy.
